AI agent (beta)
The AI agent was introduced in version 2.4.2 of the AI plugin, which is now AI Tools.
The inline AI agent is a contextual assistant integrated into ONLYOFFICE editors. It is accessed via a floating panel and is currently available as a beta feature of AI Tools.
The AI agent:
- Provides natural language interaction for executing common editing tasks without navigating menus.
- Includes a collection of simple predefined tools adapted to common tasks for each editor.
- Maintains conversation history to support iterative refinement and multi-step requests.
What the AI agent can do
- Text generation and rewriting. Create new text or enhance existing content directly in the editor. Generate summaries, expand ideas, rephrase sentences, or adjust tone and style with natural language commands.
- Smart formatting. Apply formatting without searching through menus. Request formatting changes, and the editor updates the document automatically.
- Data analysis and visualization. Aggregate, sort, and filter data in spreadsheets, and generate visual representations from selected ranges or entire sheets. Create diagrams and slide images based on simple text descriptions.
How to enable the AI agent
The AI agent is a beta feature of AI Tools. Add an AI model first. See Installing if AI Tools is not available, then Configuring.
To enable the agent:
- On the Plugins tab, click Background plugins and verify that the AI Tools switch is enabled (it is enabled by default).
- Open the AI Tools tab and click Settings.
- On the Model Assignment tab, assign a model to AI Chat or keep the Default model. The AI agent (
Ctrl + /) uses the AI Chat assignment.
The AI agent is now enabled and ready to use.
How to use the AI agent
To invoke the AI agent:
-
Press
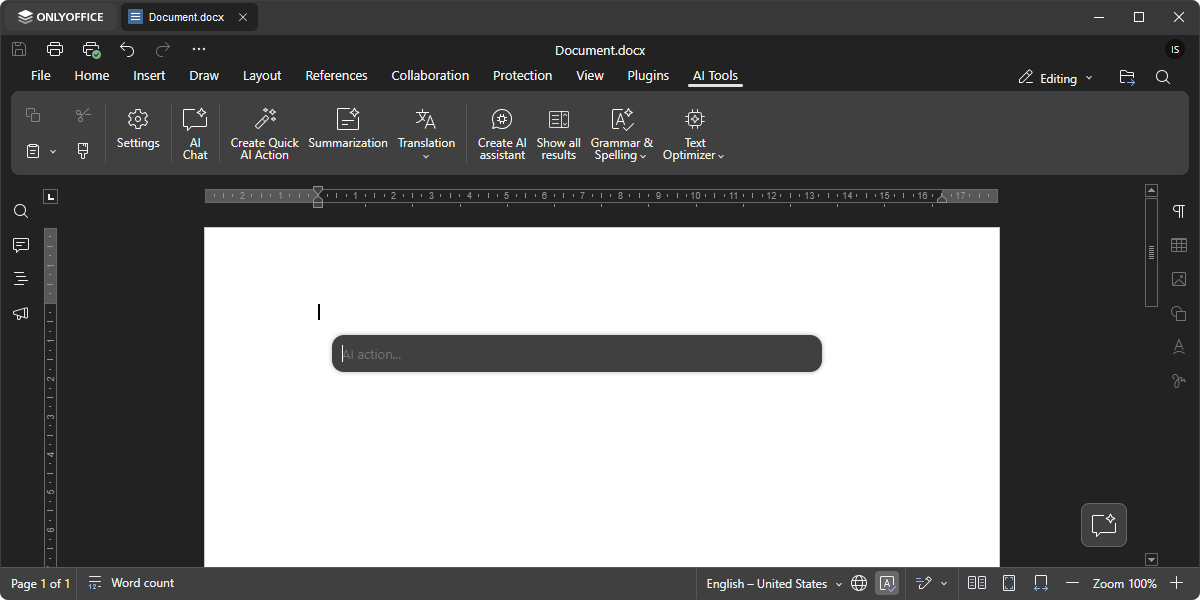
Ctrl + /in any editor to open the AI agent input.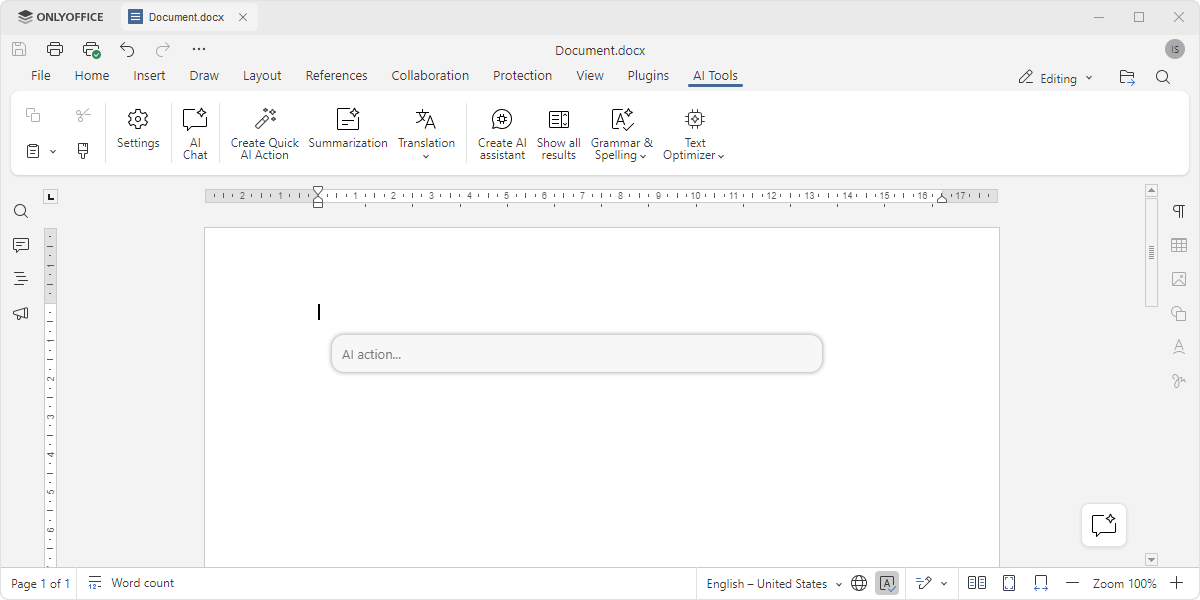
-
Type your request and press
Enter. The AI Chat panel opens and shows the response.
The editor supports request history, so you can continue the conversation, giving instructions step by step.
To reset the history, press Ctrl + Alt + /.
To disable the agent, use Esc.
How to create a Quick AI Action
Create Quick AI Action runs one-time AI tasks on selected text. Where the action appears depends on Access from.
To create a new action:
-
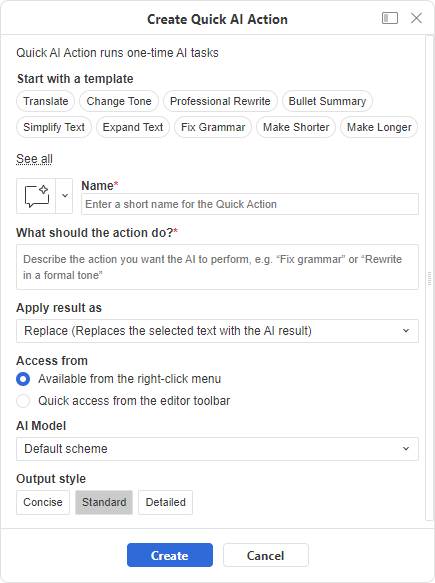
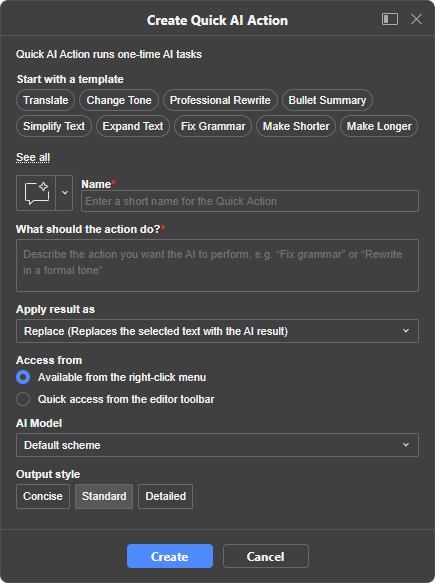
Open the AI Tools tab and click Create Quick AI Action. The Create Quick AI Action dialog opens.
-
Optionally choose a template under Start with a template, such as Translate, Change Tone, Professional Rewrite, Bullet Summary, Simplify Text, Expand Text, Fix Grammar, Make Shorter, or Make Longer. A template fills in the fields for you.
-
Or fill in the fields:
- Name: a short name for the Quick Action.
- What should the action do?: the instruction sent to the AI, such as "Fix grammar" or "Rewrite in a formal tone".
- Apply result as: how the result is applied to the document. For example, Replace replaces the selected text with the AI result.
- Access from: how the action is accessed, Available from the right-click menu or Quick access from the editor toolbar.
-
Optionally open Show advanced settings:
- AI Model: the model the action uses. Keep Default scheme to use the model assigned on the Model Assignment tab, or pick a specific model.
- Output style: how detailed the result is (Concise, Standard, or Detailed).
-
Click Create.
Where the new action appears depends on Access from:
- Available from the right-click menu: the action is listed in the Quick AI Actions submenu of the context menu. Quick AI Actions is its own item, beside AI Tools.
- Quick access from the editor toolbar: the action appears as a button on the AI Tools tab, after Translation and before Create AI assistant.
How to create an AI assistant
The Create AI assistant feature lets you turn a repetitive text task into a dedicated toolbar button. The assistant can work continuously and react to document changes.
To create a new assistant:
-
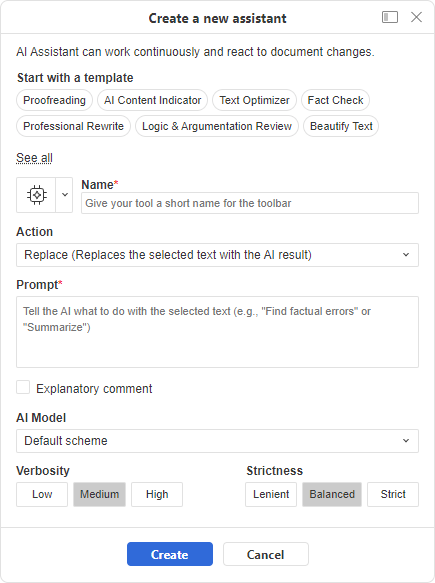
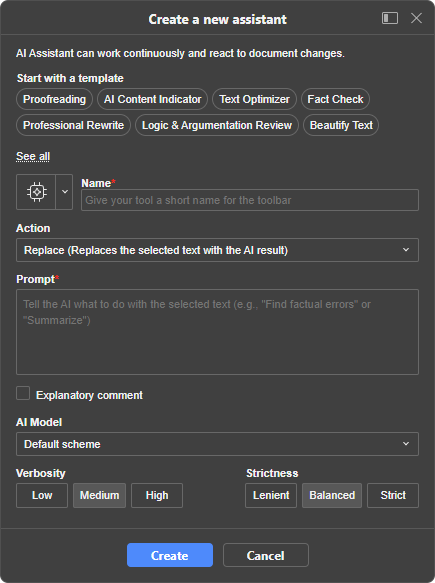
Open the AI Tools tab and click Create AI assistant. The Create a new assistant dialog opens.
-
Optionally choose a template under Start with a template, such as Proofreading, AI Content Indicator, Text Optimizer, Fact Check, Professional Rewrite, Logic & Argumentation Review, or Beautify Text. A template fills in the fields for you.
-
Or fill in the fields:
- Name: a short name shown as the button label on the toolbar.
- Action: what the assistant does with the selected text. For example, Replace replaces the selected text with the AI result.
- Prompt: the instruction sent to the AI, such as "Find factual errors" or "Summarize".
- Explanatory comment: when selected, the assistant adds a comment that explains the result.
-
Optionally open Show advanced settings:
- AI Model: the model the assistant uses. Keep Default scheme to use the model assigned on the Model Assignment tab, or pick a specific model.
- Verbosity: how detailed the response is (Low, Medium, or High).
- Strictness: how strictly the assistant follows the prompt (Lenient, Balanced, or Strict).
-
Click Create.
The assistant appears as a button at the end of the AI Tools tab and can be used in the document.
If the assistant cannot perform the requested action - for example, when the prompt is unrelated to text editing - a warning is displayed and the operation is stopped.
AI assistant example
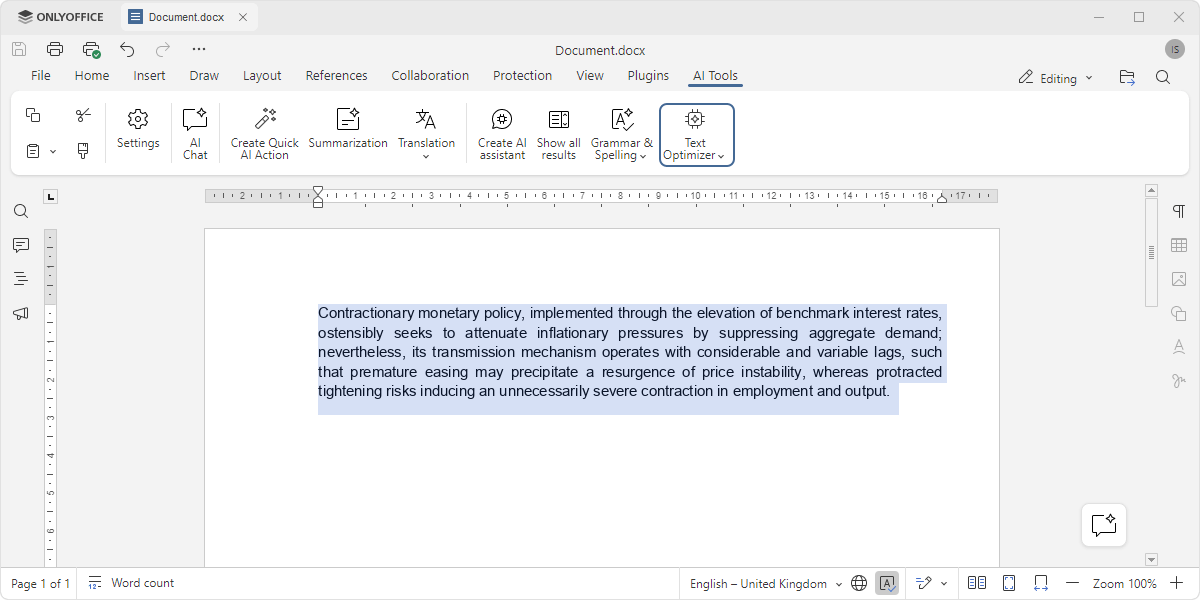
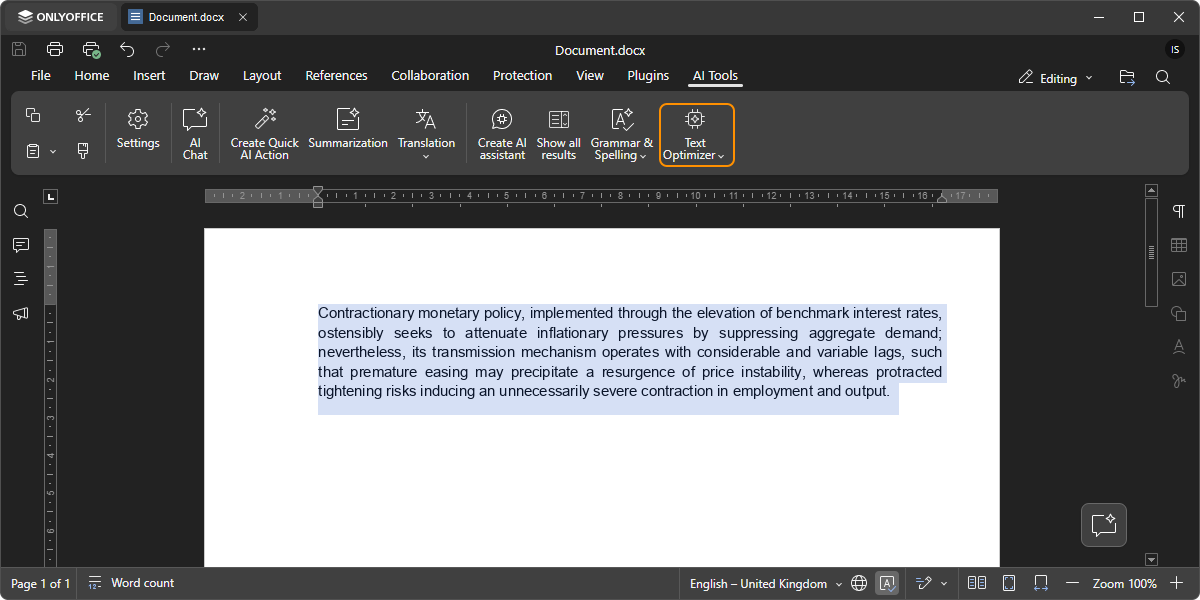
The following example shows a Text Optimizer assistant created with this prompt:
Optimize the text to improve clarity, readability, and conciseness. Reduce redundancy, refine sentence structure, and enhance flow while preserving the original meaning and intent.
-
Open Create AI assistant, select starting template Text Optimizer, and click Create.
-
Select the text you want to optimize.
-
Click the Text Optimizer button.
-
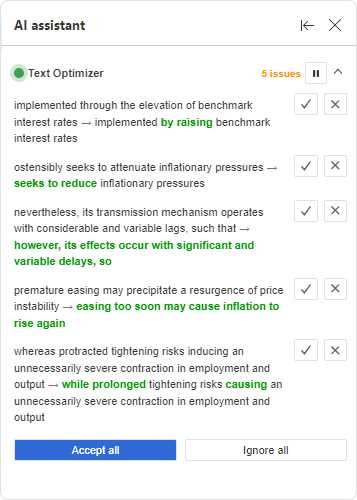
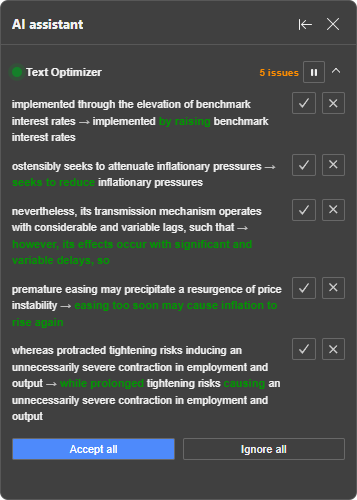
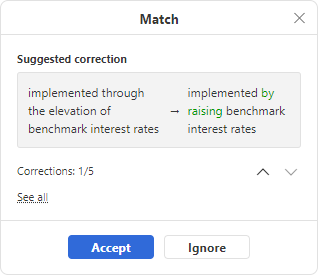
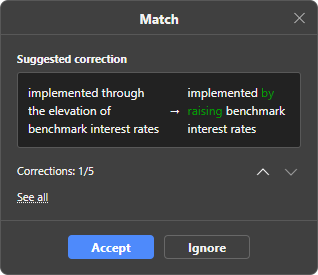
Review the suggestions in either place:
- In the AI assistant panel on the left, accept or ignore each suggestion, or click Accept all or Ignore all.
- Click the highlighted text to open the Match dialog, then click Accept or Ignore.