Visual Studio Code
This instruction describes how to connect to the DocSpace MCP server using Visual Studio Code.
Remote DocSpace MCP Server
Connect to the MCP server running remotely using Streamable-HTTP transport. This is the preferred connection method.
- Open Visual Studio Code;
- Bring up Command Palette;
- Select "MCP: Open User Configuration";
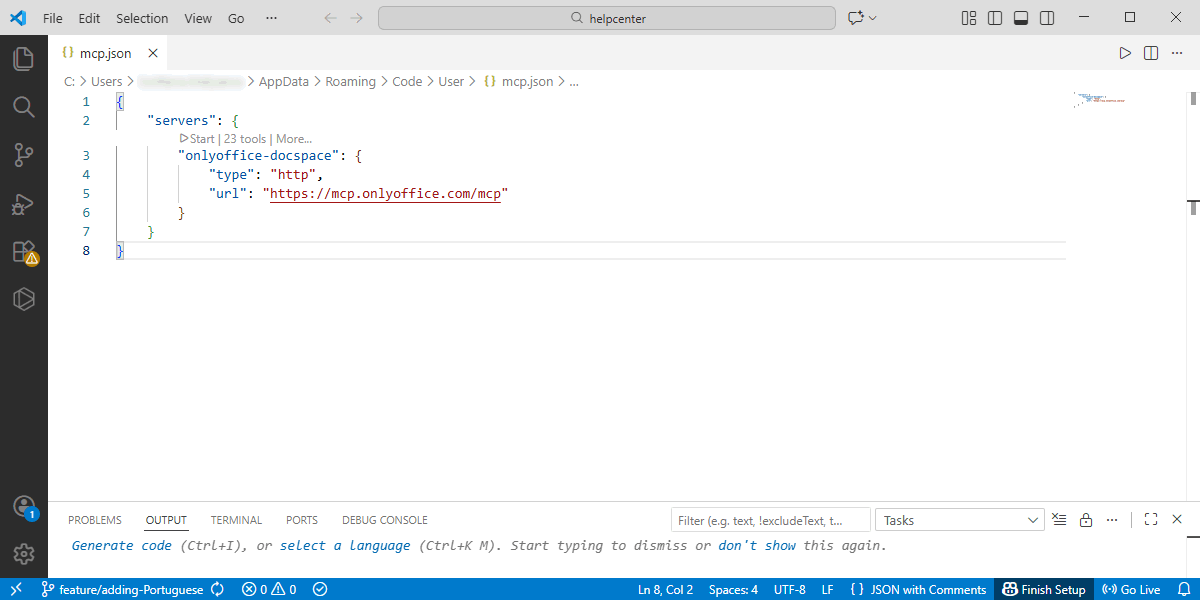
- Add a new record to the
serverssection:
{
    "servers": {
        "onlyoffice-docspace": {
            "type": "http",
            "url": "https://mcp.onlyoffice.com/mcp"
        }
    }
}
- Save the file;
- Bring up Command Palette;
- Select "MCP: List Servers";
- Select "onlyoffice-docspace";
- Select "Start Server";
- Complete the OAuth authentication process:
- Sign in to your DocSpace account by entering your email and password and clicking "Sign In".
- If you have more than one account associated with the entered email, choose one of them.
- Allow the MCP Remote Server to access the specified data in your DocSpace account.
Local DocSpace MCP Server
Connect to the locally running MCP server using stdio transport.
Ensure Docker is installed on your system.
- Open Visual Studio Code;
- Bring up Command Palette;
- Select "MCP: Open User Configuration";
- Add a new record to the
serverssection:
{
    "servers": {
        "onlyoffice-docspace": {
            "command": "docker",
            "args": ["run", "--interactive", "--rm", "--env", "DOCSPACE_BASE_URL", "--env", "DOCSPACE_API_KEY", "onlyoffice/docspace-mcp"],
            "env": {
                "DOCSPACE_BASE_URL": "https://your-instance.onlyoffice.com",
                "DOCSPACE_API_KEY": "your-api-key"
            }
        }
    }
}
- Set environment values:
DOCSPACE_BASE_URL- the URL of your DocSpace instance (e.g. https://portal.onlyoffice.com).DOCSPACE_API_KEY- your personal API key generated in DocSpace settings -> Developer Tools -> API keys.
- Save the file.
- Bring up Command Palette;
- Select "MCP: List Servers";
- Select "onlyoffice-docspace";
- Select "Start Server".