Adding plugin
You can upload your own plugins to your server or to the DocSpace SaaS solution. System plugins created by our developers are available by default in both the server and SaaS versions of ONLYOFFICE DocSpace.
Enabling system plugins
By default, system plugins are turned off. But you can enable them by following the instructions below:
-
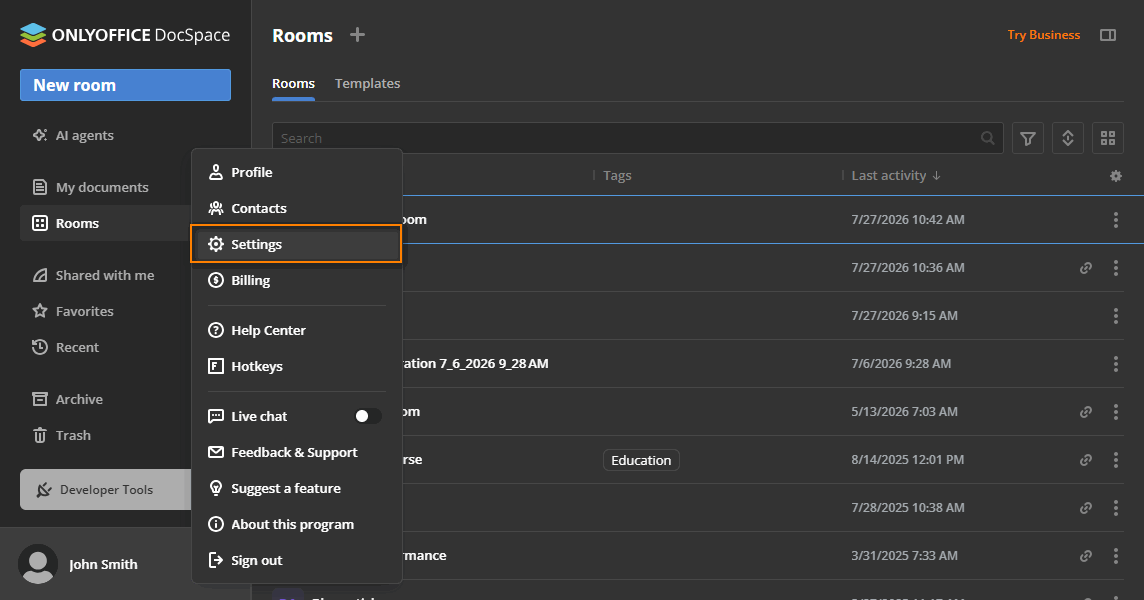
In the lower left corner, click

 and open the Settings page.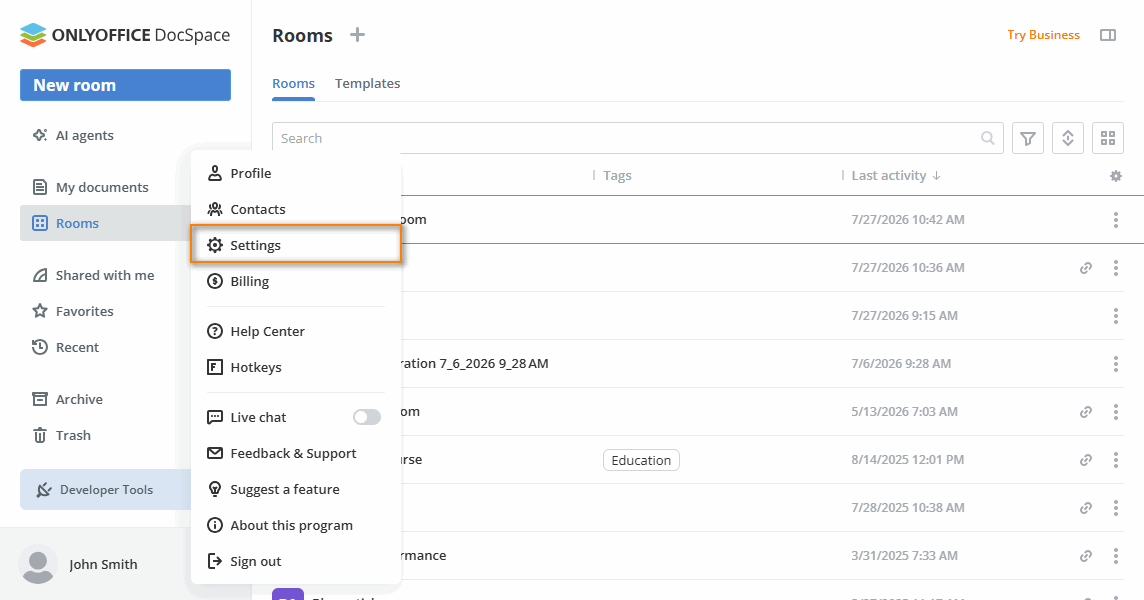
-
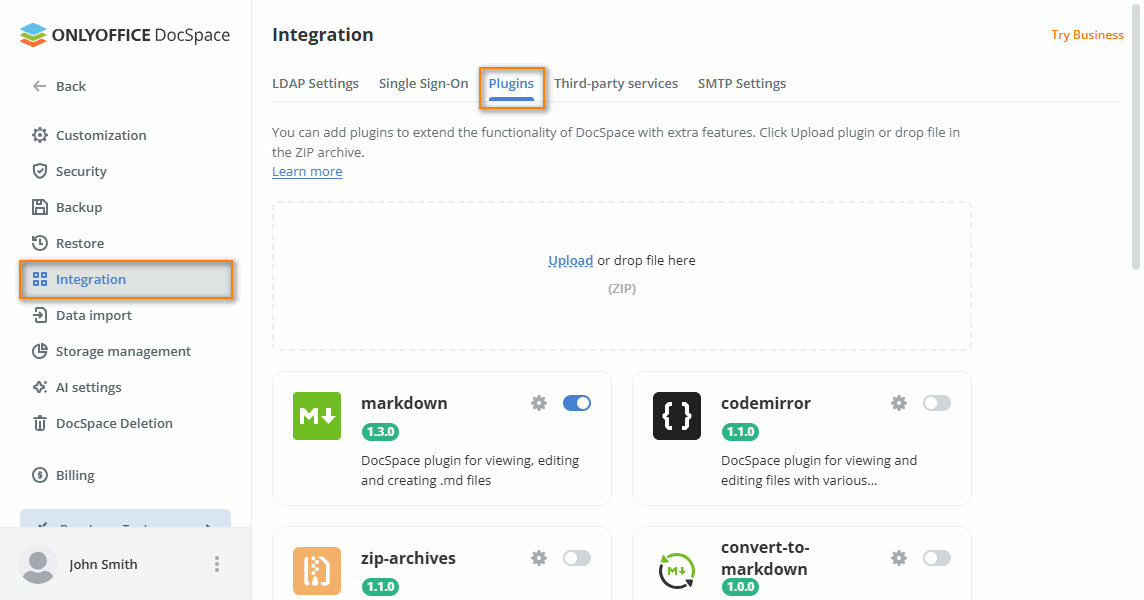
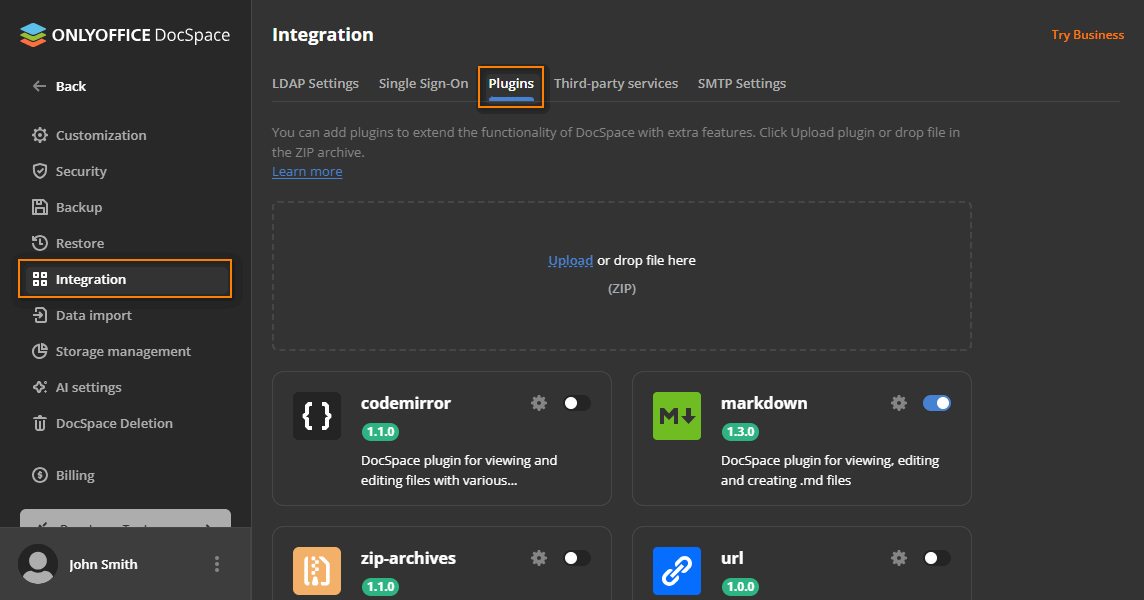
Go to the Integration section.
-
Open the Plugins tab.
-
Enable a plugin with a switcher.


After that, the plugin will function automatically unless additional settings need to be specified.
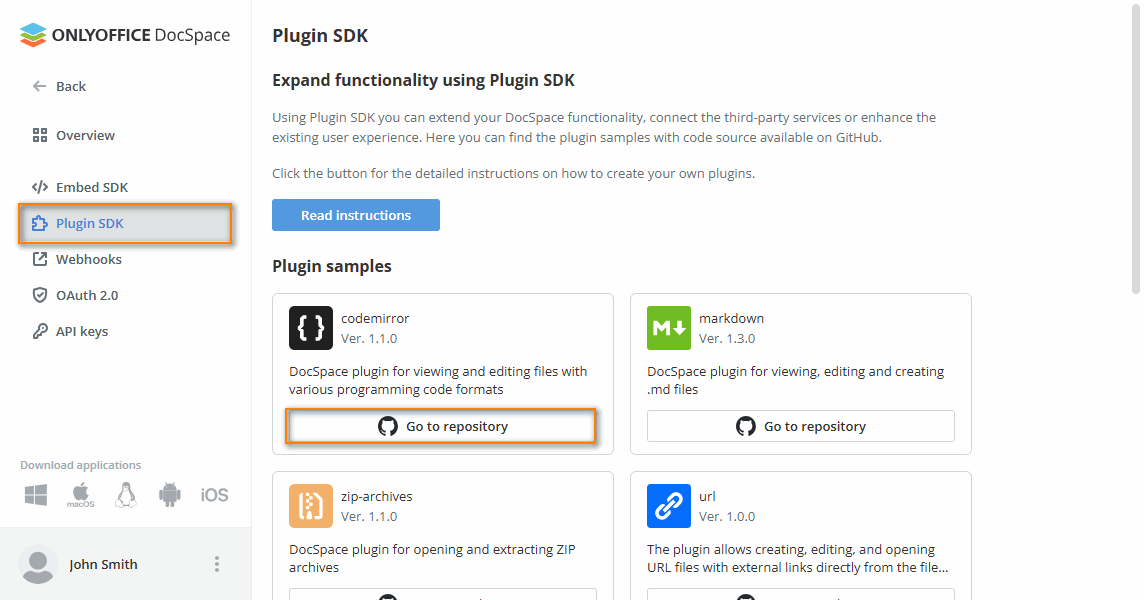
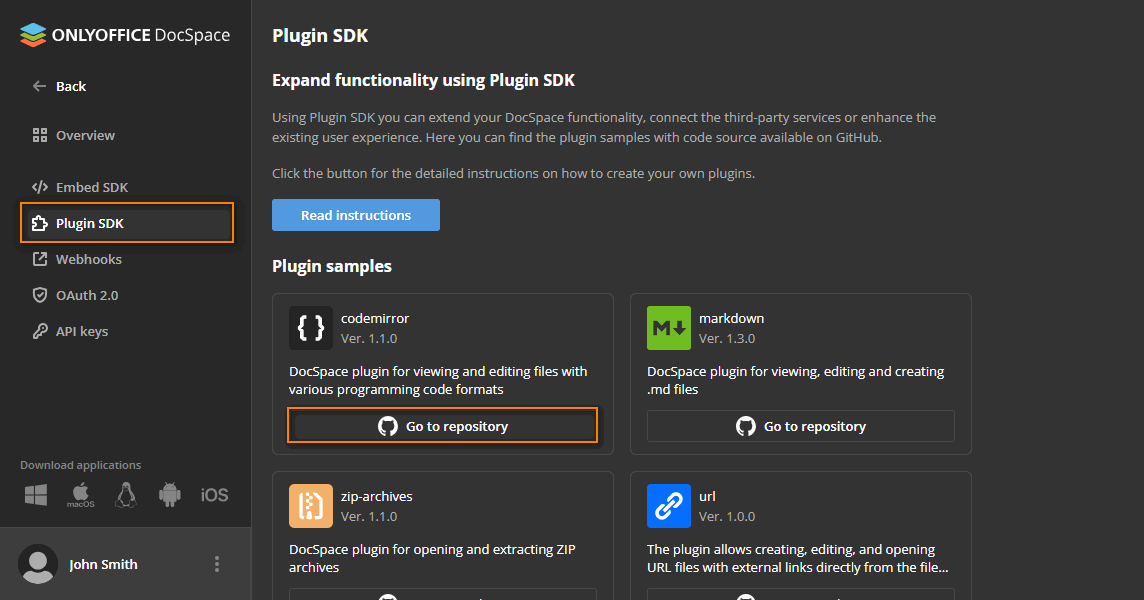
A list of the system plugins can also be found in the Developer Tools section on the Plugin SDK tab. For each plugin there is a link to the plugin repository, where you can find the information about the plugin structure and code.
Configuring plugin settings
To set up a plugin:
-
Click

 .
. -
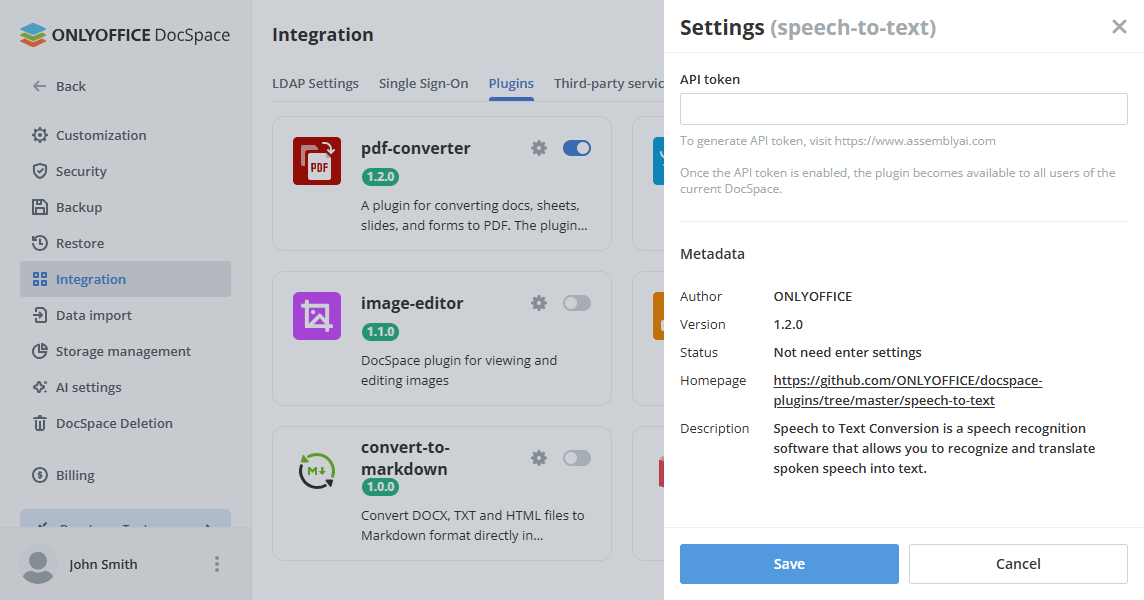
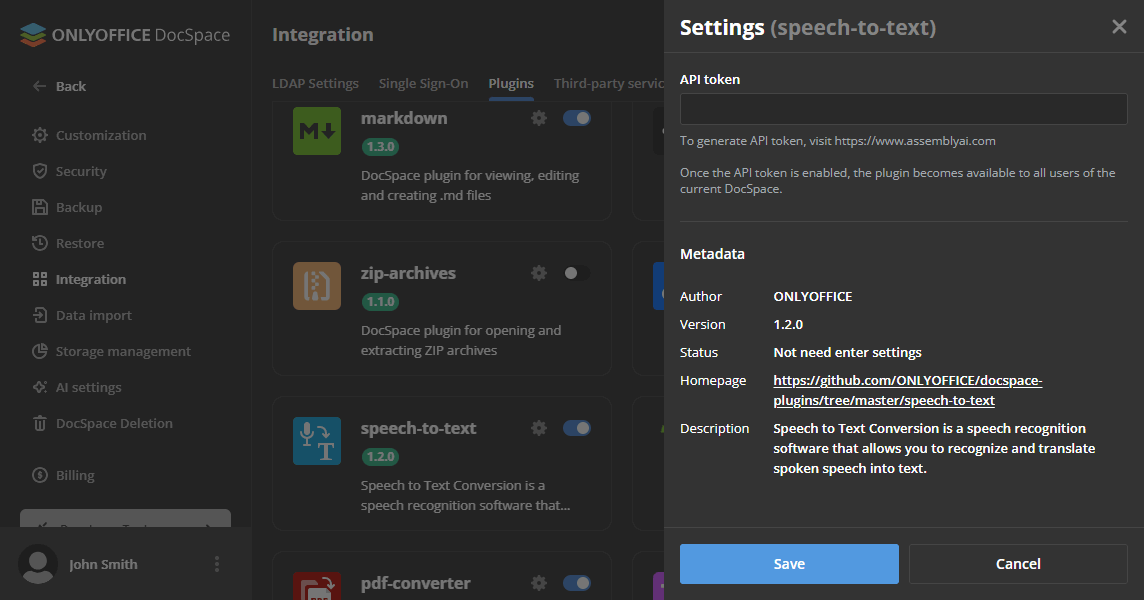
In the dialog that appears, fill out all the empty fields.
Now the plugin is available for use.
Uploading plugins
To upload your own plugins to the DocSpace portal:
-
In the lower left corner, click
and open the Settings page. -
Go to the Integration section.
-
Open the Plugins tab.
-
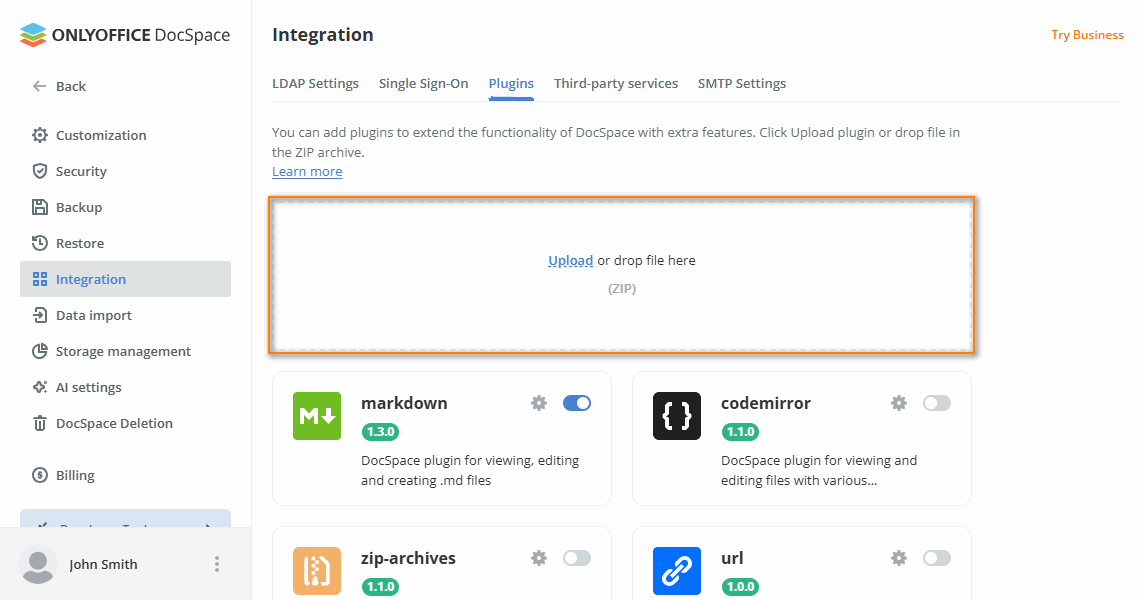
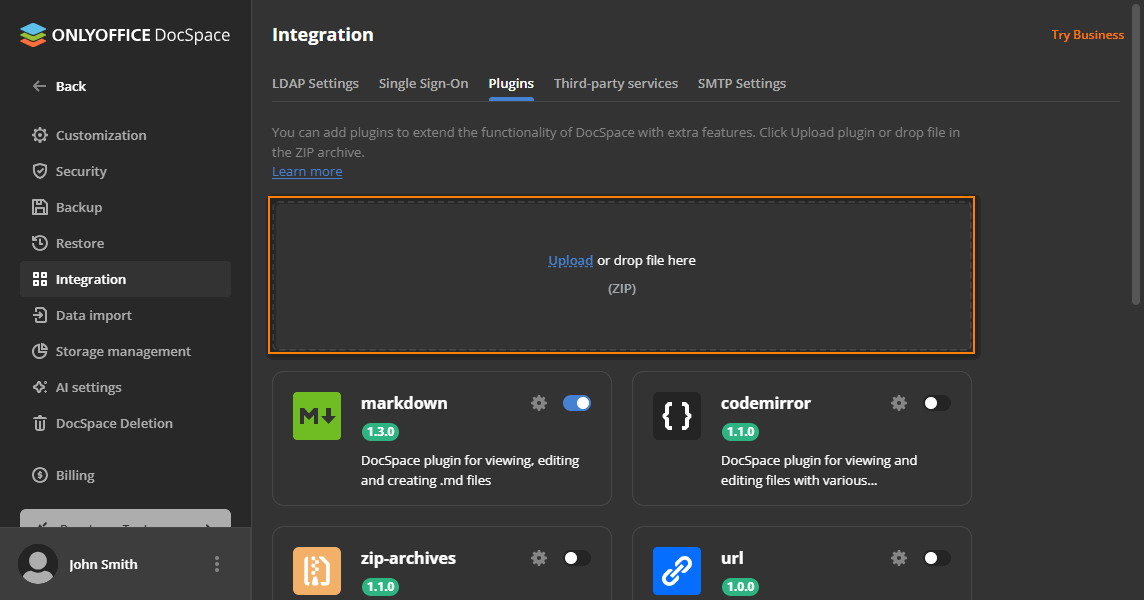
Click Upload in the upload area, or drag and drop the plugin archive there.
-
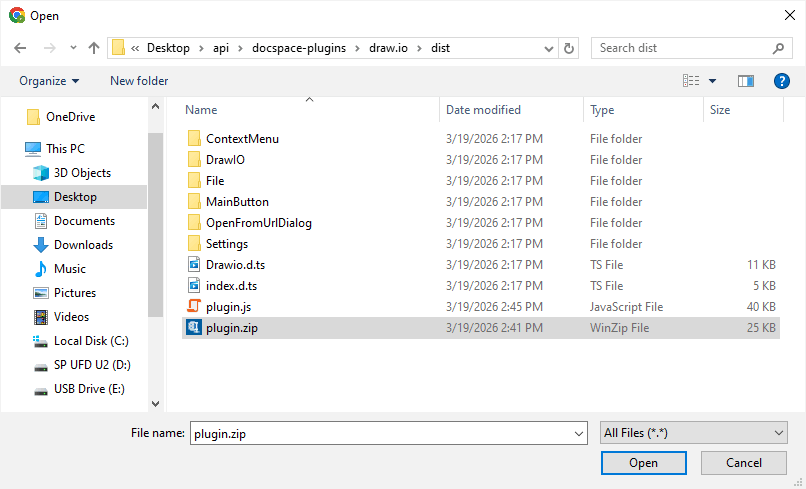
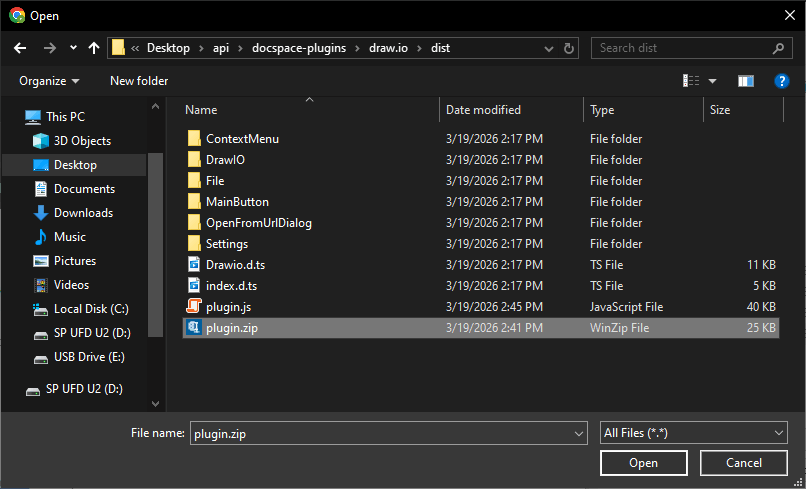
Choose the plugin archive and click Open.
noteThe maximum size of the plugin archive and each file within it must not exceed 5 MB. The number of plugin icons must not exceed 10.
After that, the plugin will function automatically unless additional settings need to be specified.