Adding a DMS provider
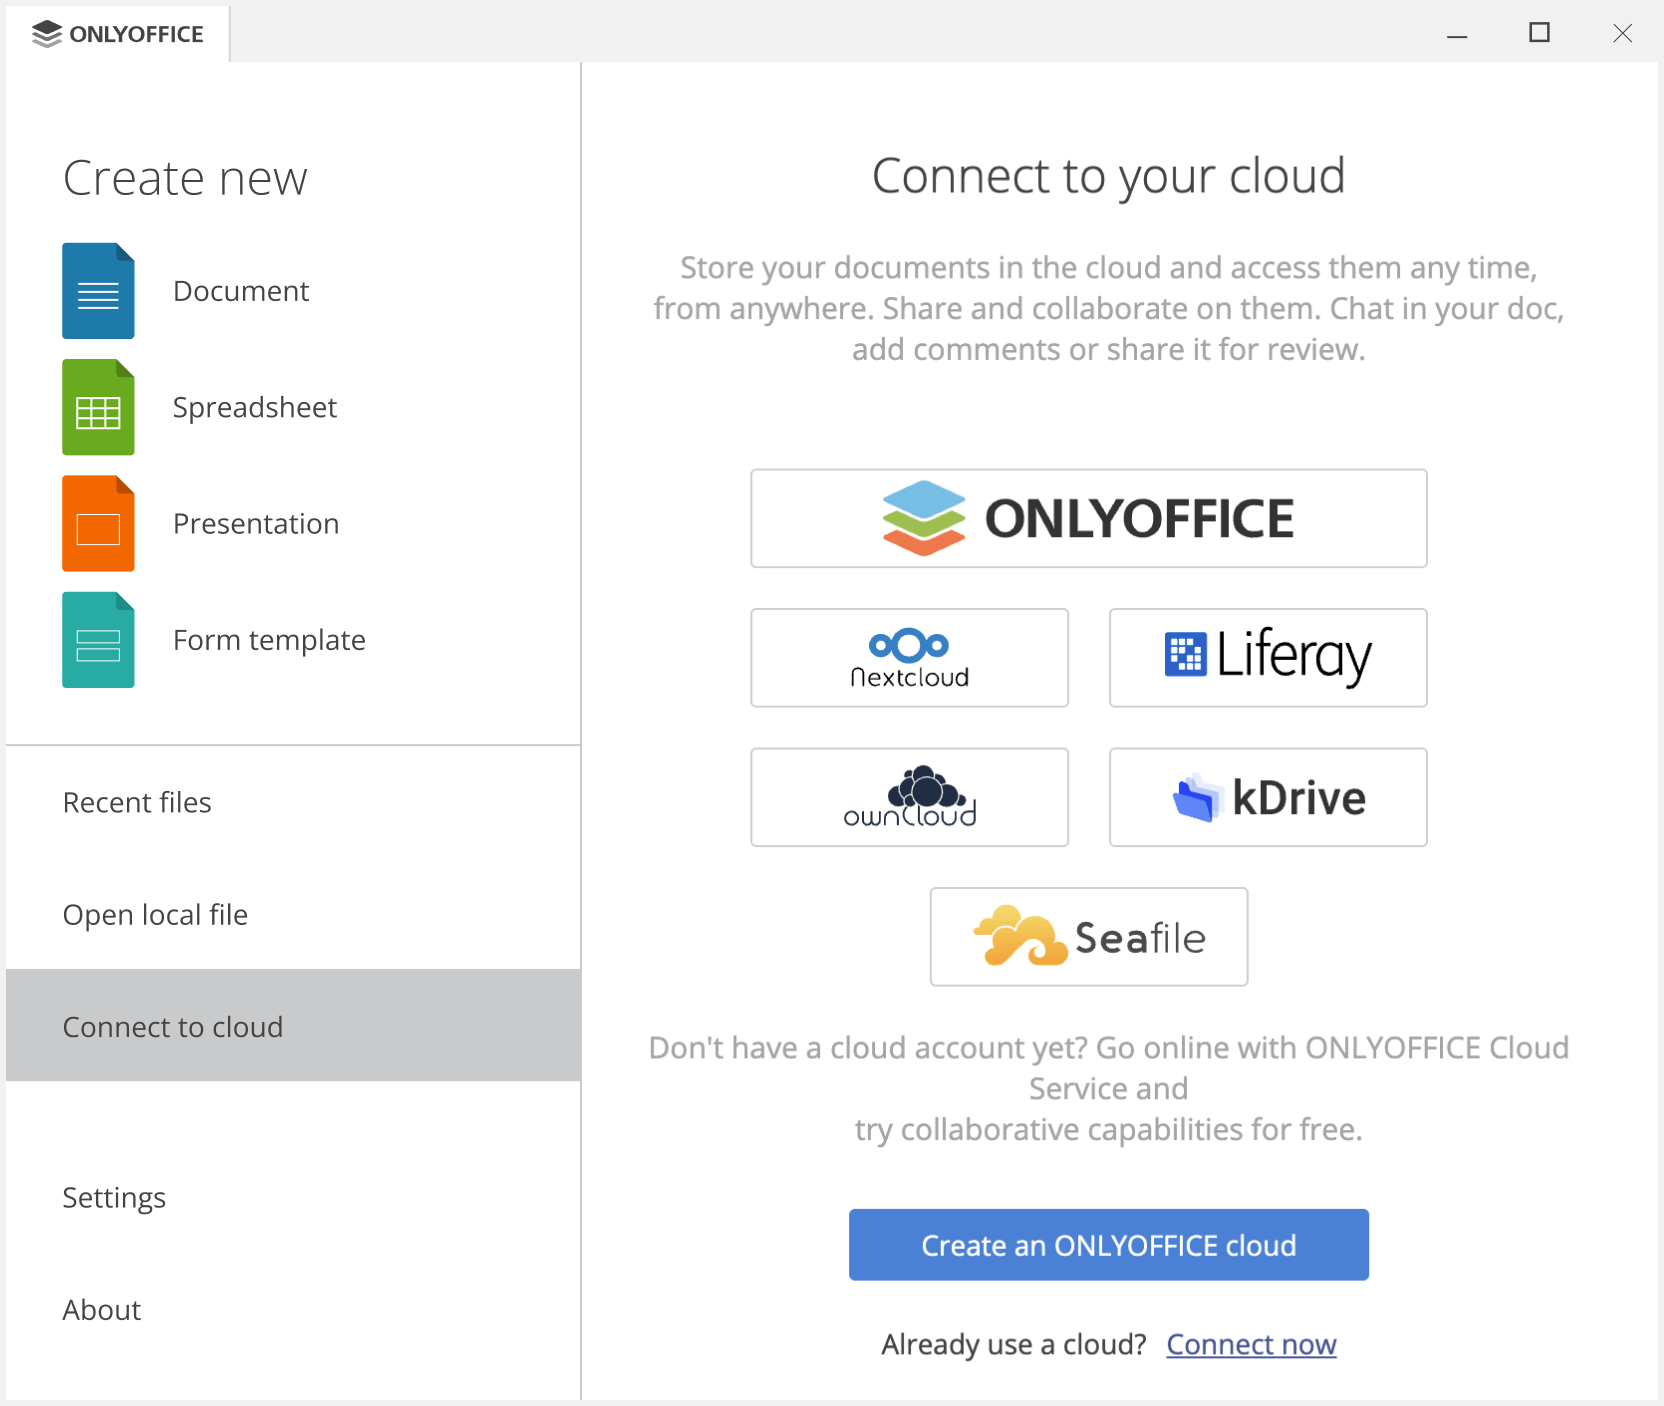
ONLYOFFICE Desktop Editors allows users to access the documents from the cloud and collaborate on them with their teammates. In this case, an Internet connection is required. Currently, users can connect the application to ONLYOFFICE Workspace (SaaS or on-premises), Nextcloud, ownCloud or Seafile, but you can extend this list adding your own DMS.
Follow the steps below to add your own document management system (DMS) to the connection list:
Step 1
Create a folder using the DMS provider as a name (e.g. onlyoffice) in the providers directory. The path to the folder depends on the operating system you use:
- For Linux - /opt/onlyoffice/desktopeditors/providers/
- For Windows - %ProgramFiles%\ONLYOFFICE\DesktopEditors\providers\
- For Mac OS - /Applications/ONLYOFFICE.app/Contents/Resources/providers/
Step 2
Create a config.json file to specify the integration parameters.
| Name | Description | Type | Example |
| provider | Defines the provider id used to refer to the desktop app in the JavaScript commands. | string | "onlyoffice" |
| name | Defines the name displayed in the provider choice section when adding a cloud. | string | "ONLYOFFICE" |
| check |
Defines parameters for checking portal availability:
A GET request is sent, after which HTTP_STATUS_CODE = 200 is expected. The response must be returned in the JSON format. |
object | { "url": "status", "headers": { "X-CUSTOM-HEADER": true } } |
| entryPage | Defines the URL to connect the provider. It is used instead of the provider address and allows the desktop app not to send the check request. | string | "https://url-to-connect-provider.com" |
| extraLogout | Defines the URL to log out from the cloud. It is used instead of the provider address. | string or array of strings | "https://url-for-logout.com" |
| editorPage |
Defines the relative URL that indicates that the type of the opening file is a document. |
string | "/apps/onlyoffice/" |
|
You can use regular expressions for this parameter. For example, "regex:\/lib\/(?:[\w-]{32,})\/file\/".
|
|||
| startPage | Defines the relative URL added to the entered IP or domain when creating a new connection. | string | "/" |
| icons |
Defines the icons for portals:
You can add icons for each UI theme type (light and dark) by specifying the themeLight and themeDark objects with the corresponding icons. |
object | { "themeLight": { "connectionsList": "./assets/listicon.svg", "buttonLogo": "./assets/buttonlogo.svg" } } |
{
    "provider": "onlyoffice",
    "name" : "ONLYOFFICE",
    "check": {
        "url": "status",
        "headers": {
            "X-CUSTOM-HEADER": true
        }
    },
    "entryPage" : "https://url-to-connect-provider.com",
    "extraLogout" : "https://url-for-logout.com",
    "editorPage" : "/apps/onlyoffice/",
    "startPage" : "/",
    "icons" : {
        "themeLight": {
            "connectionsList": "./assets/listicon.svg",
            "buttonLogo": "./assets/buttonlogo.svg"
        },
        "themeDark": {
            "connectionsList": "./assets/listicon_dark.svg",
            "buttonLogo": "./assets/buttonlogo_dark.svg"
        }
    }
}
Step 3
Create two icons for the application page and put to the folder specified in the config.json file:
-
The icon for the connection list. The required icon size is 36x36:

-
The icon for the provider button on the connection page when the Connected clouds list is empty. The required icon size is 148x38:
Supported image formats are .png, .jpeg, .svg. We recommend using a .svg file for correct display on HiDPI monitors with a 200% scale in the system.
You can also add icons for each UI theme type (light and dark). In this case, create four icons (two for each theme) and add all of the to the config.json file.
Step 4
Launch ONLYOFFICE Desktop Editors or restart it if needed and switch to the Connected clouds section to check if the connection works correctly.