- Config
- index.html
-
Plugin object
-
Methods
- attachContextMenuClickEvent
- attachEvent
- callCommand
- callModule
- createInputHelper
-
executeMethod
-
Common Api
- ActivateWindow
- AddContextMenuItem
- AddOleObject
- AddToolbarMenuItem
- CloseWindow
- CoAuthoringChatSendMessage
- ConvertDocument
- EditOleObject
- EndAction
- GetDocumentLang
- GetFileToDownload
- GetFontList
- GetImageDataFromSelection
- GetInstalledPlugins
- GetMacros
- GetSelectedOleObjects
- GetSelectedText
- GetSelectionType
- GetVBAMacros
- GetVersion
- InputText
- InstallDeveloperPlugin
- InstallPlugin
- MouseMoveWindow
- MouseUpWindow
- OnDropEvent
- OnEncryption
- PasteHtml
- PasteText
- PutImageDataToSelection
- RemovePlugin
- ReplaceTextSmart
- ResizeWindow
- SendToWindow
- SetMacros
- SetProperties
- ShowButton
- ShowInputHelper
- ShowWindow
- StartAction
- UnShowInputHelper
- UpdateContextMenuItem
- UpdatePlugin
-
Text Document Api
- AcceptReviewChanges
- AddAddinField
- AddComment
- AddContentControl
- AddContentControlCheckBox
- AddContentControlDatePicker
- AddContentControlList
- AddContentControlPicture
- ChangeComment
- ChangeOleObject
- ChangeOleObjects
- GetAllAddinFields
- GetAllComments
- GetAllContentControls
- GetAllOleObjects
- GetCurrentContentControl
- GetCurrentContentControlPr
- GetCurrentSentence
- GetCurrentWord
- GetFields
- GetFileHTML
- InsertAndReplaceContentControls
- InsertOleObject
- MoveCursorToContentControl
- MoveCursorToEnd
- MoveCursorToStart
- MoveToComment
- MoveToNextReviewChange
- OpenFile
- RejectReviewChanges
- RemoveComments
- RemoveContentControl
- RemoveContentControls
- RemoveFieldWrapper
- RemoveOleObject
- RemoveOleObjects
- RemoveSelectedContent
- ReplaceCurrentSentence
- ReplaceCurrentWord
- SearchAndReplace
- SearchNext
- SelectContentControl
- SelectOleObject
- SetDisplayModeInReview
- SetEditingRestrictions
- UpdateAddinFields
- Spreadsheet Api
- Presentation Api
- Form Api
-
Common Api
- getInputHelper
- loadModule
- resizeWindow
- sendToPlugin
-
Events
- button
- init
- inputHelper_onSelectItem
- onAddComment
- onBlurContentControl
- onChangeCommentData
- onChangeContentControl
- onClick
- onCommandCallback
- onContextMenuClick
- onContextMenuShow
- onDocumentContentReady
- onEnableMouseEvent
- onExternalMouseUp
- onExternalPluginMessage
- onFocusContentControl
- onInputHelperClear
- onInputHelperInput
- onMethodReturn
- onRemoveComment
- onTargetPositionChanged
- onToolbarMenuClick
- onTranslate
-
Methods
- Asc.scope object
- info object
- InputHelper
- Simple types
- Developing plugins
- Adding plugins
- Plugin localization
- Plugin styles
- Publishing plugins
-
Plugin examples
- Add comment in cell
- Add custom fields
- Autocomplete
- Chess
- Clippy
- Context menu and events
- Count words and characters
- Extended comments
- Get and paste html
- Hello world
- Highlight code
- Invoices
- Language tool
- Load custom fields
- Move cursor
- OCR
- Photo editor
- Search and change text background color
- Search and replace
- Search and replace on start
- Settings
- Speech
- Symbol table
- Telegram
- Templates
- Thesaurus
- Translator
- Typograf
- Work with content controls content
- Work with content controls navigation
- Work with content controls tags
- YouTube
- Zotero
- Getting started with macros
- Writing macros
- Debugging
- Converting VBA macros
-
Macro samples
- Write data to worksheet cell
- Change cell background color
- Change cell font color
- Make cell font bold
- Merge cell range
- Unmerge cell range
- Set column width
- Format range as a table
- Add chart
- Highlight duplicates
- Next blank row
- Insert text
- Currency exchange rates
- Import CSV/TXT data
- Recalculate worksheet values
- Unhide all rows and columns
- Remove shapes from slides
- Insert unique id
- Complete address information
Getting started with plugins
Here are some fundamental concepts for building plugins step by step:
- Preparing
- Coding
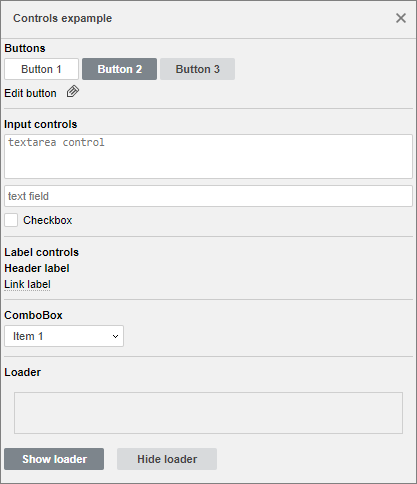
- Adjusting the plugin style
- Localizing
- Preparing the plugin for publication
- Testing
- Publishing
Step 1. Preparing
- To create a plugin and publish it in the ONLYOFFICE Plugin Marketplace, you need an account on GitHub. Sing in to an existing account or create a new one.
-
Fork the plugin marketplace repository: https://github.com/ONLYOFFICE/onlyoffice.github.io.
You get a repository with the following address - https://github.com/YOUR-USERNAME/ONLYOFFICE/onlyoffice.github.io.
- Build your own GitHub Pages site from this repository to test your plugin in the web version later. Explore the official GitHub documentation to learn how to do it.
- Clone the fork to your local computer.
-
Add a folder for your plugin to onlyoffice.github.io/sdkjs-plugins/content/.

Step 2. Coding
Develop a plugin. Follow the plugin structure described here. The plugin folder must contain three files required for the plugin to work: config.json, index.html, pluginCode.js.

Use plugin methods and events while writing the plugin code.
Step 3. Adjusting the plugin style
Add the ONLYOFFICE style sheet to the index.html file to adjust your plugin to the ONLYOFFICE editor style:
<link rel="stylesheet" href="https://onlyoffice.github.io/sdkjs-plugins/v1/plugins.css">
Step 4. Localizing
Create the translations folder in the plugin directory with .json files for each language you want to add the translation for. Follow the instructions here to localize and apply the translations.
Step 5. Preparing the plugin for publication
- Create an informative About window for your plugin. Add a short description and the plugin version, the company developer name and link to its website. Follow the instructions here to create an About variation in the config.json file.
-
Prepare icons for the plugin and put them into the resources folder. Follow the instructions here to specify icon parameters in the config.json file.
Please note that you need to prepare 8 icons for the plugin to display correctly in the plugin marketplace: 4 icon scaling types (125%, 150%, 175%, 200%) for both light and dark themes. - Don’t forget about the readme file where you can add a detailed plugin description, installation and usage instructions, known issues, etc. Put this file into the main plugin folder.

Step 6. Testing
Put all the prepared files to the plugin folder and push it to the remote repository. That’s it! Now you can connect it to the desktop or web versions of ONLYOFFICE editors and test.
-
Test the plugin in the ONLYOFFICE Desktop Editors.
You can run this app in the debug mode with the --ascdesktop-support-debug-info flag. To do this, follow the instructions here depending on the operating system you use.
-
Test the plugin in the web version.
To create an extension, open the onlyoffice.github.io/store/plugin-dev/extension/inject.js file and assign the path to your plugin on GitHub Pages site to the URL_TO_PLUGIN variable:
var URL_TO_PLUGIN = "https://YOUR-USERNAME.github.io/onlyoffice.github.io/sdkjs-plugins/content/helloworld/"
The onlyoffice.github.io/store/plugin-dev/extension folder is a new extension. Upload it to the browser, run your ONLYOFFICE Docs and find the plugin in the Plugin Manager.
To debug ONLYOFFICE plugins in the web editors, follow the instructions here.
Please note that this is important to open your plugin in the Plugin Manager and check how it looks like in the My Plugins tab both in the light and dark themes. Improve the plugin display if necessary. 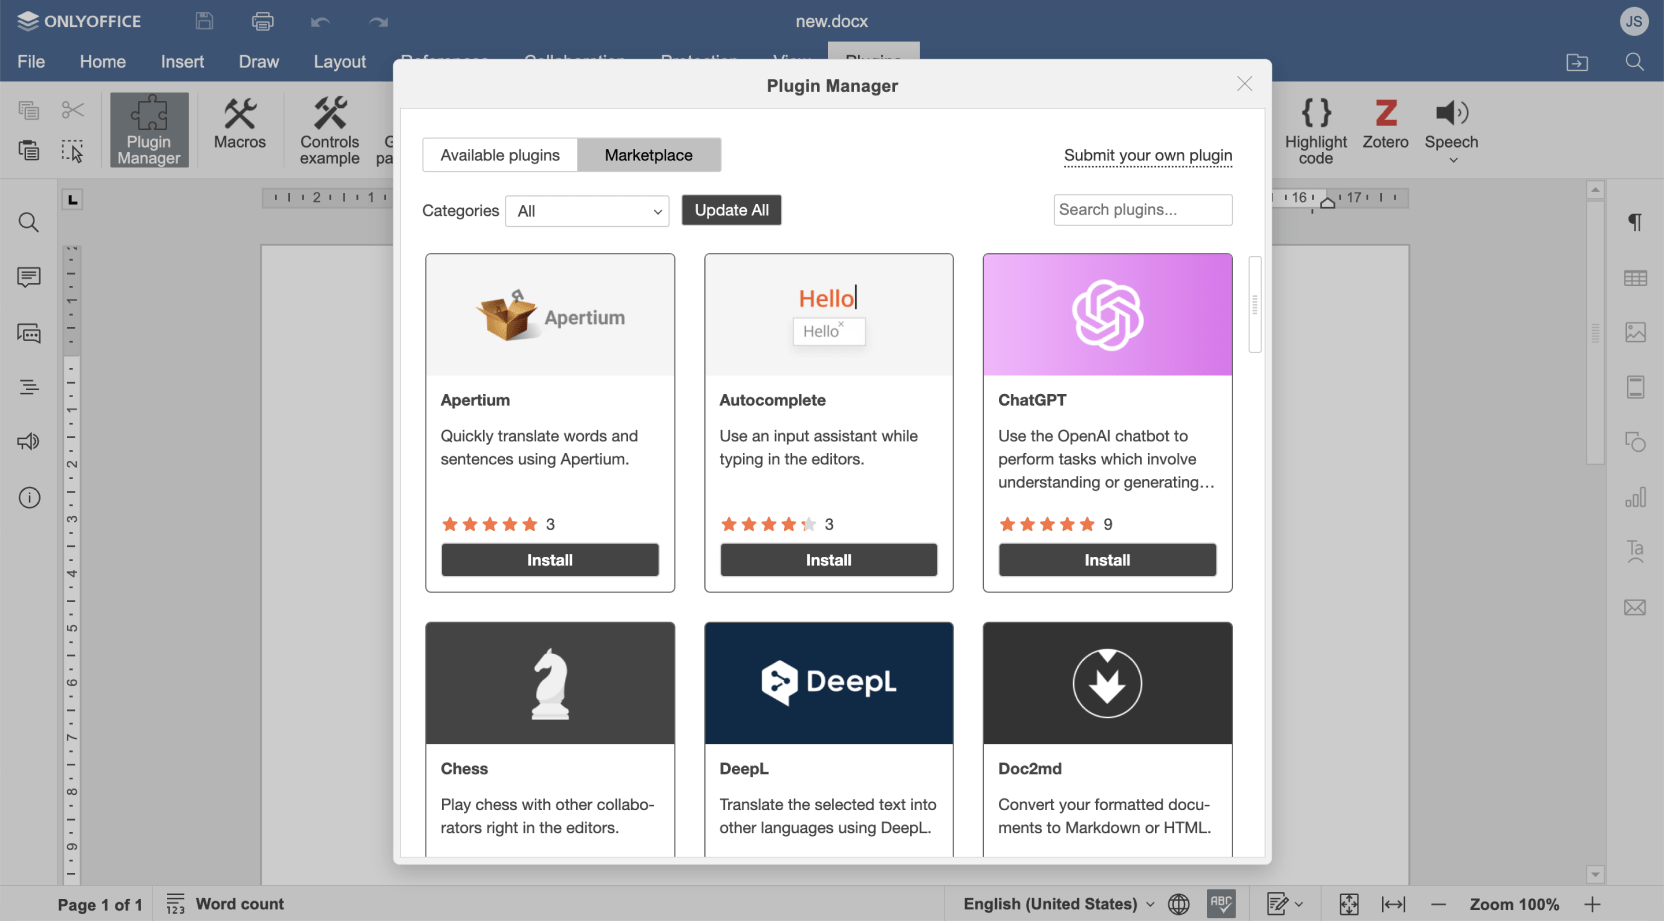
Step 7. Publishing
If you want your plugin to be available to other users in the ONLYOFFICE Plugin Marketplace, suggest it for publishing by creating a pull request from your fork to https://github.com/ONLYOFFICE/onlyoffice.github.io. If your plugin works properly, your pull request will be approved and the plugin will appear in the marketplace.
You can discuss plugin development, request a feature, or report a bug by posting an issue in the marketplace repository.